
You must be approved to use single sign-on prior to attempting to add staff to a program. Once approved, log in and click “Minors on Campus” and click “My Programs” to show your registered programs:
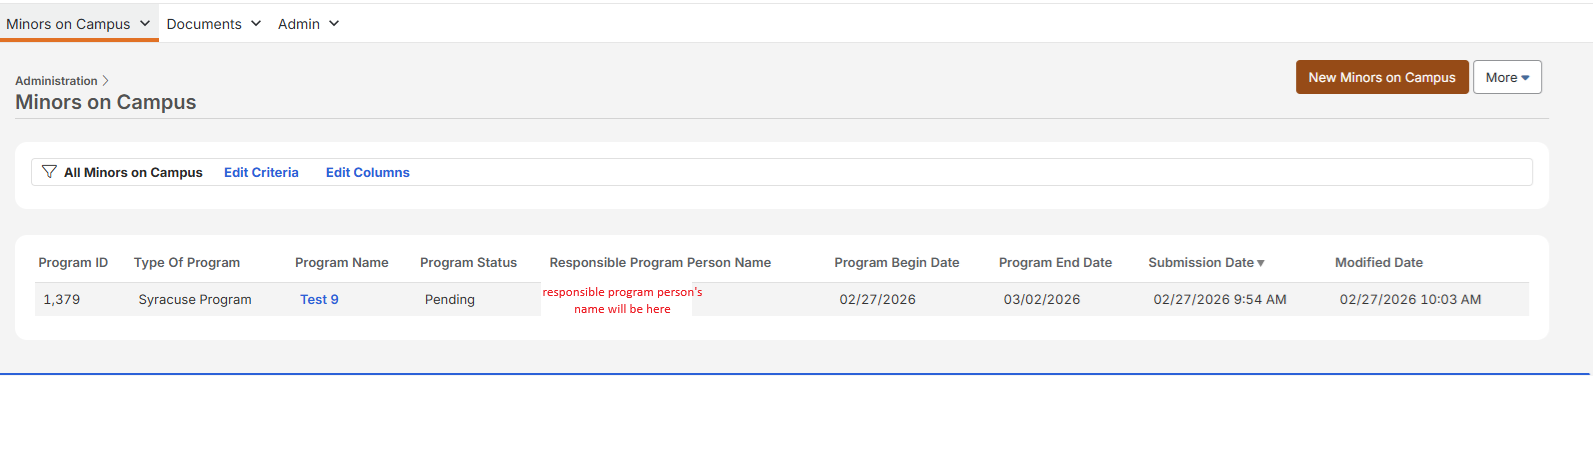
Click on the program name and then on the plus sign to bring up the database of available staff which includes both @syr.edu emails and non-syr.edu emails:

To look up SU affiliated program staff OR non-SU affiliated staff who have already been added , click on the magnifying glass:
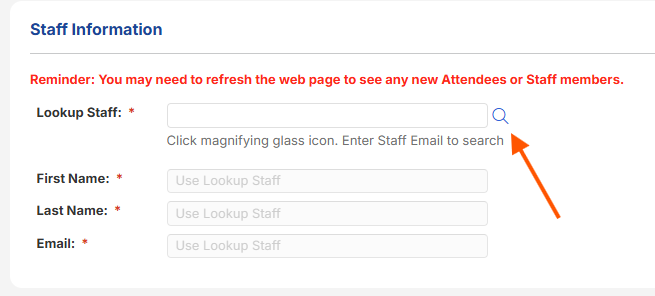
Enter the full email address:
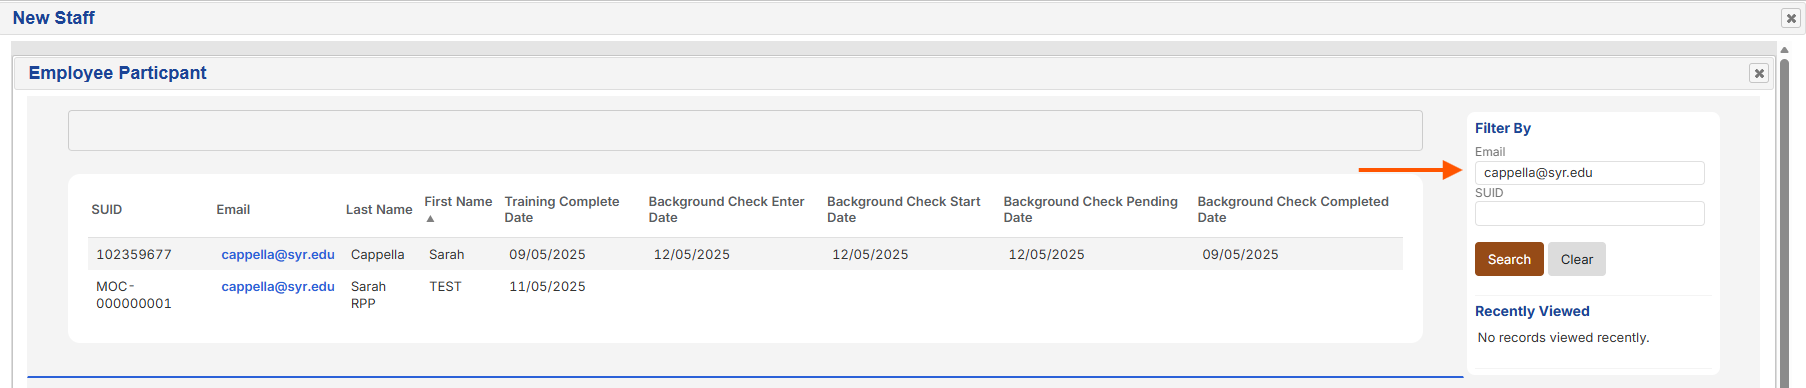
When located, click on the email to add each person. This will bring you back to the previous page. Click on “Save Changes” and give it a second to refresh.
You should now see staff and related compliance:

To add non-syr.edu staff who are not in the system already, click “add new staff:
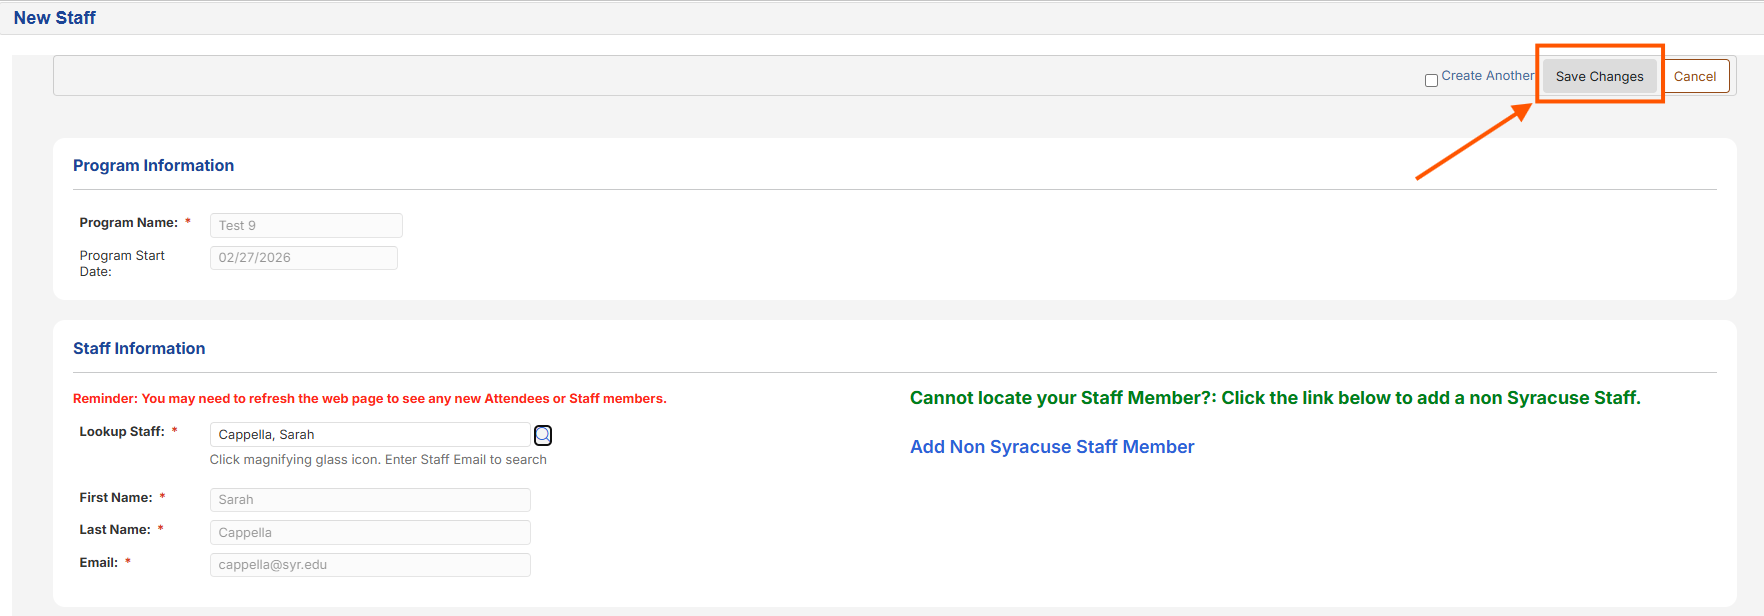
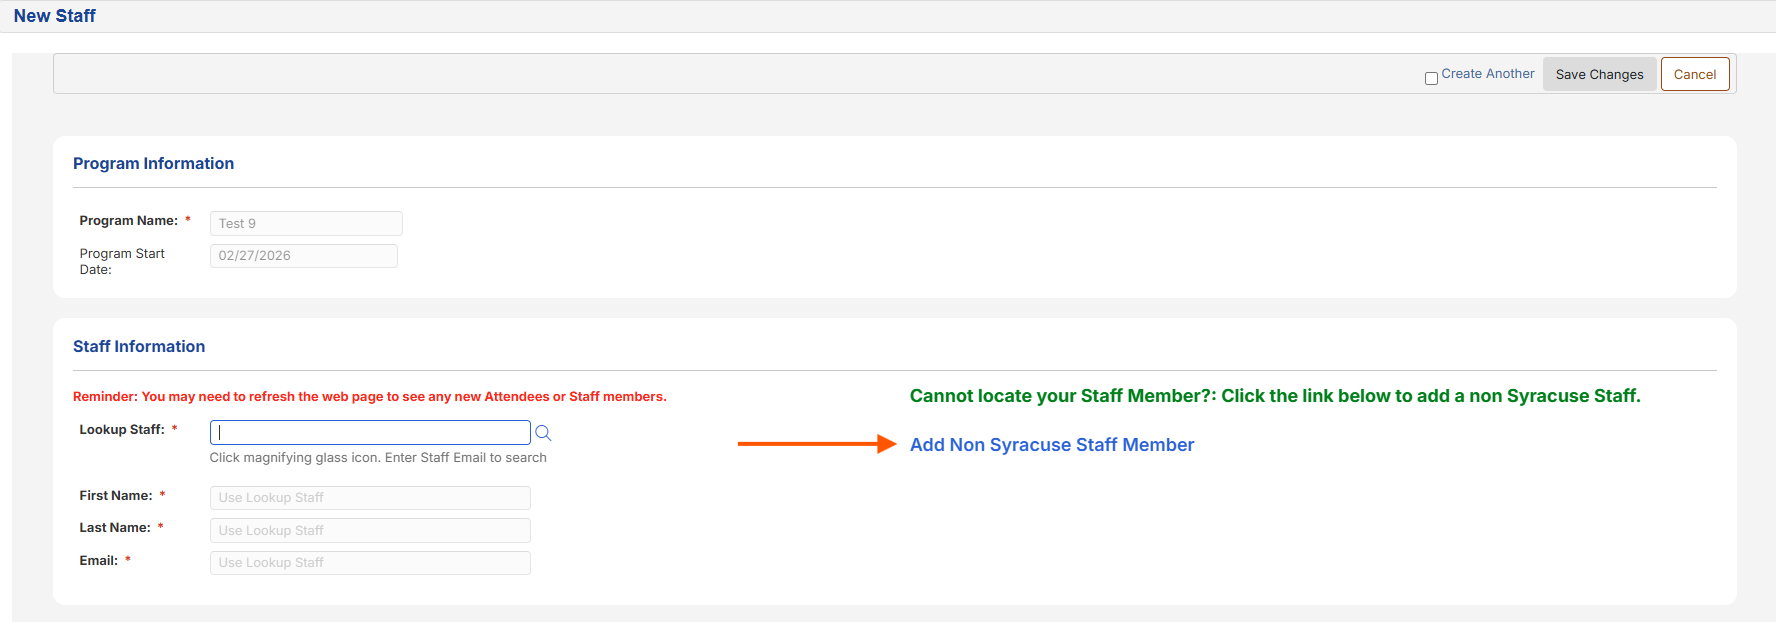
Click on “Add Non-Syracuse Staff Member” and enter their information The system will check for existing duplicates – if you locate a duplicate, click ‘cancel’ and search for them as outlined above:
Click “Save Changes” in the top right, and you will see their record created and added.
Printer-friendly version